


Happy Monday everyone! One of our absolute favourite vendors is having a sale right now and we have a promo code just for you! Right now you can save 15% to 25% on all orders over $99 from Wedding Paper Divas. All you need to do is order by September 22nd and use the promo code 25WEDSEPT at checkout.
When it comes to wedding stationery there are some elements that seem pretty obvious – invitations, envelopes, RSVP cards, and the list goes on. However, what a lot of brides and grooms don’t realize is that they call is a stationery suite for a reason. While some couples keep it simple by selecting only two or three elements, others may choose to include more than 10 items which can get pretty overwhelming if you don’t know your response card from your reception card. Have no fear! We’ve broken down the process and put together the full anatomy of a stationery suite to help simplify everything for you!
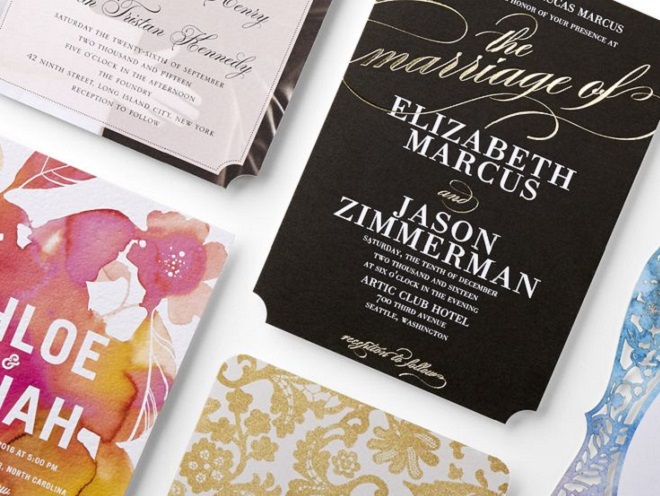
Step One – Find a Style you Love
Picture it now – your guests open their mail boxes and find a beautiful envelope addresses to them. Bursting with excitement they tear open the envelope, pull the invitation out and…? Can you envision the stunning card in their hand? Is it the picture of classic elegance, complete with letterpress writing and a pearlescent shine? Or perhaps it has a beachy vibe with splashes of bright colours as a nod to your upcoming destination wedding? Or maybe you felt that a modern invitation that’s monochromatic with lots of clean lines was more your style.
Wedding Paper Divas
There are so many gorgeous invitations to choose from, it may seem like an impossible task to pick just one. The best place to start is by thinking about what type of message you want to send your guests. This is the first glimpse that they are really getting of what your wedding day will be like. Whatever stationery you select should set the tone for your wedding day and be a reflection of the couple. For example, if you’re planning on hosting a more formal celebration, make sure that your invitation is indicative of that.
Once you’ve narrowed it down to a few styles, go ahead and order yourself some samples. After all, you wouldn’t buy a new couch without testing is out first, right? This will help you to make decisions about what type of final touches you want, like the type of card stock, foil stamping or pearlescent finish, rounded or scalloped edges. Right now our friends over at Wedding Paper Divas are offering all of our readers’ ten free samples with the promotional code 10WEDSAMPLES.
Step Two – Design Your Suite
Once you have picked your style, it’s time to start designing the elements of your suite. Before you start ordering every element offered, figure out what your stationery needs are by breaking down your wedding day. Lucky for you we’ve broken down a full stationery suite so you know exactly what the role of each element is.
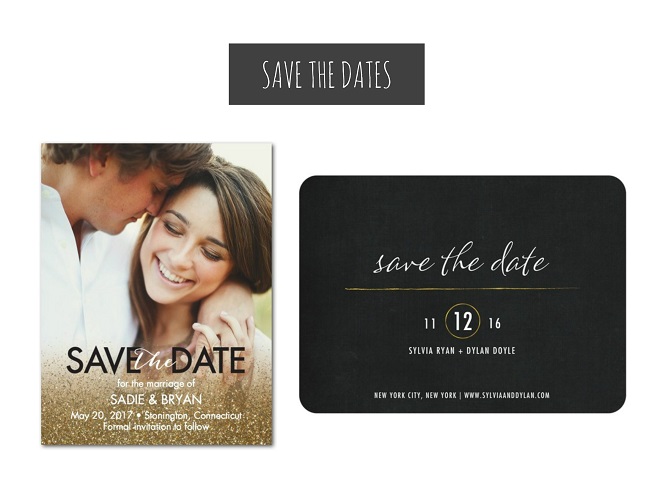 The save the date a way for you to let guests know prior to the invitation mailing that they are going to be invited to your wedding and what your general plans are. These are especially important if you’re planning a destination wedding as guests may need more time to make the arrangements for their travel. Typically these should be sent out 6 to 8 months in advance of the wedding date.
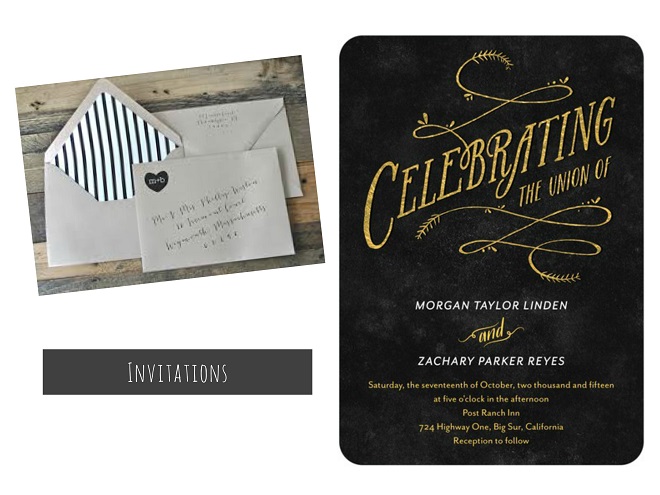
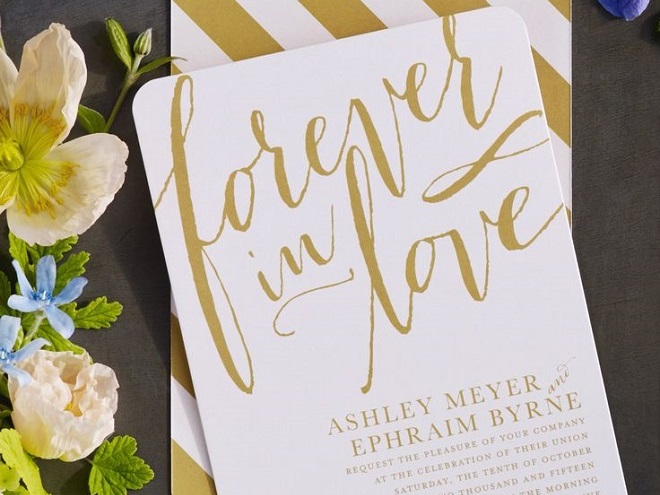
The invitation is traditionally viewed as the showpiece of the stationery suite. It is one of the most important design components as it includes all sorts of important information for guests and because your guests will hold on to it (or display it!) so they can easily reference back whenever needed. There are all sorts of options for wording for your invitation, but here is a handy guide to help get you started with some samples.
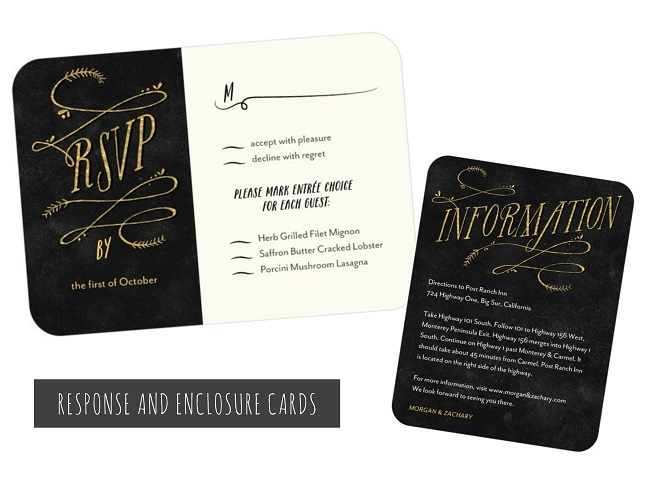 Response cards are very important in order to help keep yourself organized with your wedding planning. If you’re offering menu options to guests this is a great way to gather their preferences or any dietary restrictions. This is also a great way to gather song suggestions from guests to ensure that your dance party is one of epic proportions. In our experience, guests often forget to fill out their name on the RSVP card, so if you give each guest a number and label their cards to reflect that you’ll always be able to know whose response card it is. Don’t forget to include a pre-addressed envelope with postage for guests to send their responses in!
The enclosure card is a great way to include any information that you weren’t able to fit on your invitation. This can include everything from directions and accommodations, to reception details and even your wedding website or hashtag.
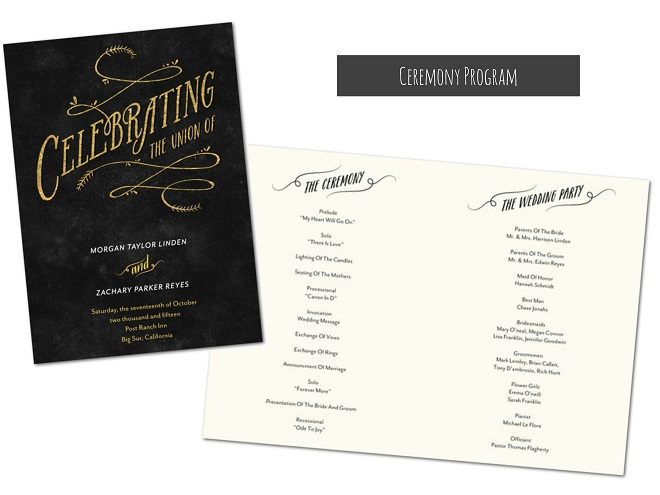
Your program is where you can fill your guests in all of the who’s and what’s of your wedding ceremony. You took the time to carefully select each song and reading, not to mention your wedding party! Make sure you share these details with your guests because they are what make your ceremony so much more personal.
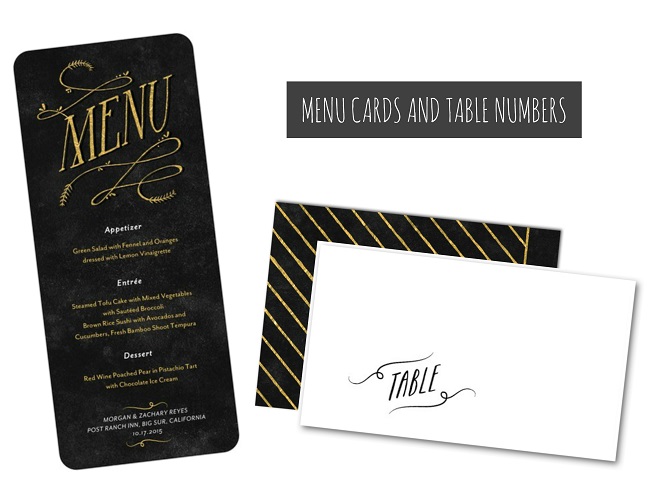
Consider your menu and table cards as a part of your décor. As guests walk into the reception space, a beautiful menu folded into a napkin sitting on a charger plate can be just as eye catching as a floral centrepiece. They are a fantastic way to help carry your wedding theme throughout the entire room, not to mention you want all of your guests to know the full details of the delicious meal you planned for them!
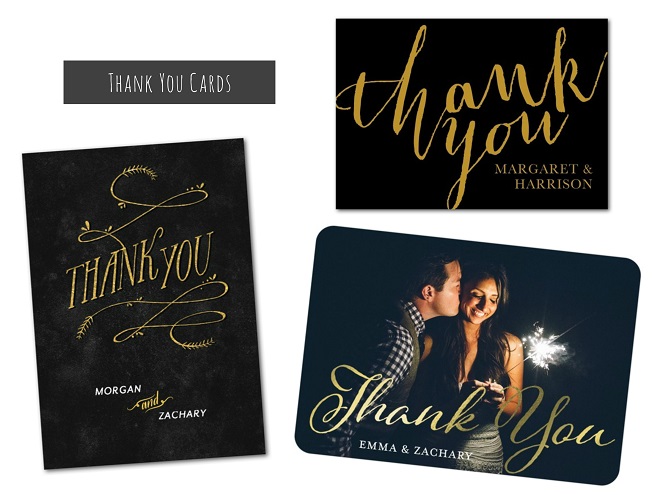
Once your celebration is over and you are settled back into your everyday routine (except now officially as a married couple!) you’ll want to send out some thank you cards to all of your guests who attended your wedding and/or gave you a gift. This is a great way to start sharing your wedding photos and you can even share a link if there is an online gallery. It can seem like a monstrous task to get them all done, so don’t feel like you need to get them all done at once! Instead, do a few at a time – your guests will appreciate having a note that’s more personal a few months later rather than a standardized note right away.
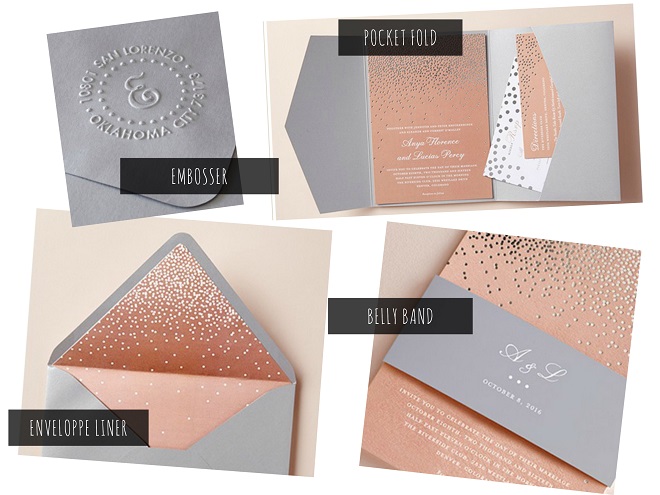
There are of course more elements to help dress up your suite a bit more, such as an envelope liner, an embosser, a belly band or a pocket fold. If your budget allows, these small details can take your invitations to the next level.
Step Three – Order Away!
Once you’ve picked your suite, written the copy and done the layout it’s time to order. Prior to ordering anything make sure you proofread, proofread and proofread some more! You want to make sure that all your guests have the right information to avoid disaster further down the line, so take your time and ask others to give it a read through as well.
You don’t have to order everything at once, after all there is no point in ordering 120 menu cards if you only have 100 people RSVP yes! Start with your save the dates, followed by everything included in your invitation mailing. You don’t need to order one invitation for each guest as some invitations will be going to the same place – just make you clearly label on the envelope who the invitation is addressed to in order to avoid any confusion. Definitely order some extras, just in case something goes wrong with the mailing or to invite some additional guests from your ‘B List’ if you start receiving a lot of no’s from your first round invites.
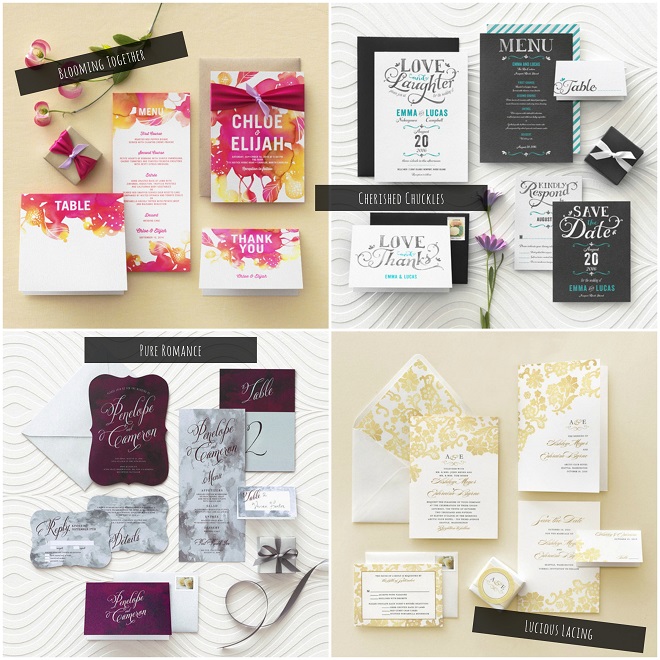
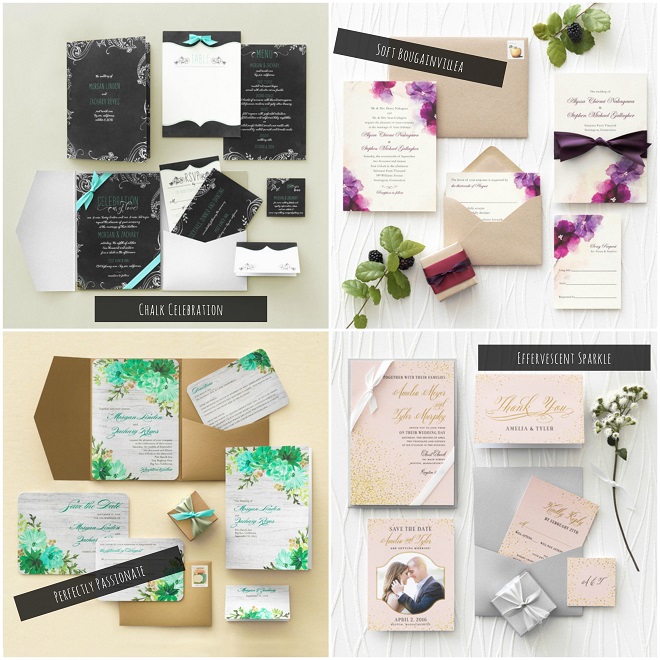
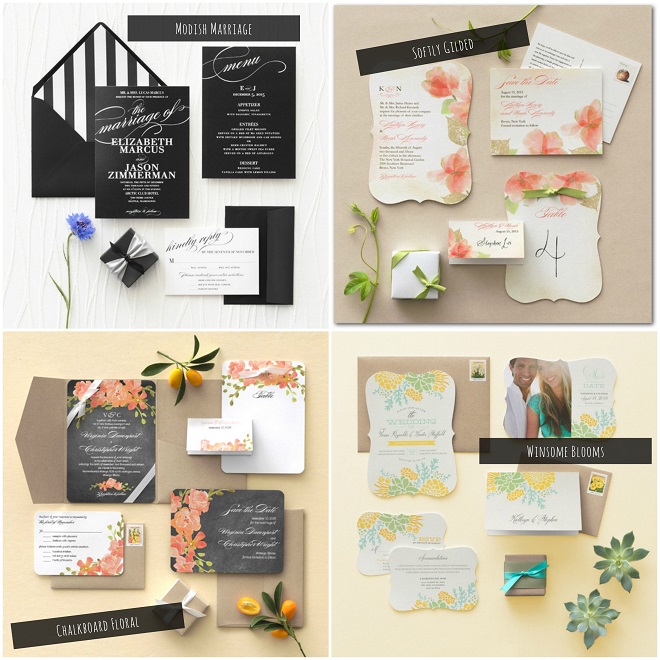
So there you have it, a full Stationery 101 to help simplify the process for you. Are you ready to get started? Here are some of our favourite designs from Wedding Paper Divas to get in your inspired. Happy designing!
Be the first to comment